


Ok... so i bought this black s14a back in 0ct 08, disaster struck a couple of months later with the big ends destroying themselves! So, this is its story. All work carried out by myself.
As you can see the head has seen better days and some d**k that had it yrs before me missed more than a few servives!!

Follow Us On


Results 1 to 10 of 79
Thread: My s14a re-build project
Hybrid View
-
15-12-09, 19:37 #1di Member
- Status
- Offline
- User ID
- 727
- Join Date
- Dec 2009
- Location
- Mayo
- Posts
- 172
 My s14a re-build project
-
15-12-09, 19:38 #2di Member
- Status
- Offline
- User ID
- 727
- Join Date
- Dec 2009
- Location
- Mayo
- Posts
- 172


And when i cracked open the sump..... look what i found!!!

The remains of a bearing!!


This is the wear on yhe crank, brought it to engine-re to get it checked ot. Too much gone of the bearing journal so i had to get a new crank......oh the joys of i!!

-
15-12-09, 19:38 #3di Member
- Status
- Offline
- User ID
- 727
- Join Date
- Dec 2009
- Location
- Mayo
- Posts
- 172
I got a cased Cusco 2-way also... so put that in next!!:Rock:

I decided to make some changes to the dash as regards to the gauges.... i wanted them to blend in to the dash as much as possible....
So i took out the centre vent surround and took out the two middle vents.

Then got some gauge hoods things and glued them in where i wanted the gauges to go.


Then i fiberglassed the back of the vent surround to hold everything in place and make it stronger...* its a bit of a mess here in this picture but you get the idea*

-
15-12-09, 19:39 #4di Member
- Status
- Offline
- User ID
- 727
- Join Date
- Dec 2009
- Location
- Mayo
- Posts
- 172
Then sanded off all of the excess to clean it up ...

Put in a load of filler then.

A couple of hours sanding and re-filling parts later.....

You can see here i have them angled a bit more to face the driver

Then sanded it all up as far as 1200 paper to get the finish good, sprayed on a couple of coats of plastic primer, then normal primer

Next i bought some black wrinkle paint, sprayed on 2 layers of this. I wasnt completly happy with the finish as it looked more shiny than the dash of the car so wet sanded it with 1200 paper and gave it a light coat of satin black. This worked a treat as you could still see the crackle of the wrinkle paint but it now was a better colour match to the dash.

And here is the before & after


Did a job on the lower radio surround next... got a Gizzmo MS-IBC Electronic Boost controller from HM-Developments so needed to put that somewhere
Gizzmo...


So took out the radio surround, removed the ash tray, i dont smoke so i wont be needing it anyhow!
Put a piece of hard board in at the back to cover the hole and then put fiberglass on top of that.

Next filled it all and marked out where the boost controller would go. Also at this point decided to put in two switches as there always handy to have

-
15-12-09, 19:39 #5di Member
- Status
- Offline
- User ID
- 727
- Join Date
- Dec 2009
- Location
- Mayo
- Posts
- 172
Cut out them holes next and sanded everything

Then i sprayed it all, same as before.... a few coats of plastic primer, then some normal primer, black wrinkle paint, wet sand and finish with satin black.

Put in the switchs and the boost controller

The top and bottom all finished.

Sprayed the rocker cover too...
Stripped with nitro-mors,
Primed with heat resistant primer
Sprayed blue
And the sprayed with heat resistant lacquer


Ok... a bit more done.....
Got new cams so collecting them next week, also got my head back from engine- re, cleaned skimmed and rebuilt..

Got an Apex Performance S/S manifold


Than got some blue heat wrap for it

Also got an Apex Performance 3" Turbo elbow
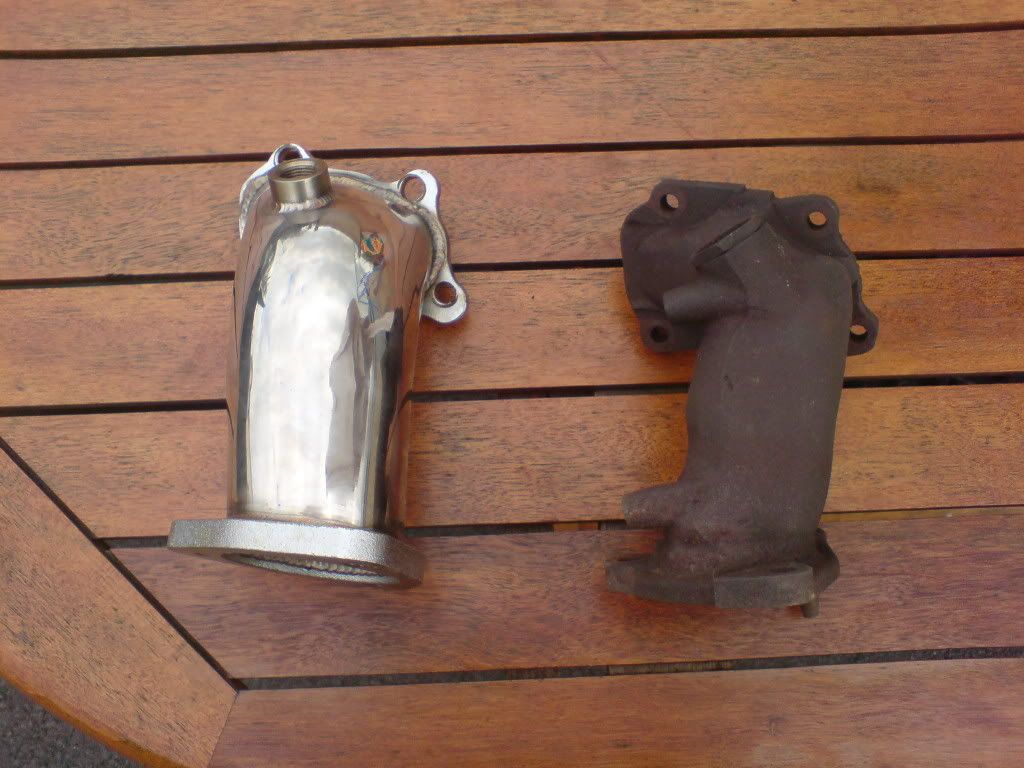
Heres my new-ish Garret t28r turbo with elbow mounted

-
15-12-09, 19:40 #6di Member
- Status
- Offline
- User ID
- 727
- Join Date
- Dec 2009
- Location
- Mayo
- Posts
- 172
Ok, i think its time for a quick update.. Im waiting on parts for the past 3 weeks so ill post up what ive done in the mean time...
This is the bare bottom end, cleaned and ready to build.

My new crank..

My new big & main bearings and trust bearing

Bearings in & crank in place

New rear crank oil seal fitted

New piston rings & pistons assembled


I got a new Nissan oil pump and also a new timeing chain kit from Apex Performance

Fitted the pistons, time chain kit and fron cover/oil pump

-
20-12-09, 01:14 #7The Monstar!!
- Status
- Offline
- User ID
- 84
- Join Date
- May 2009
- Posts
- 766
looks like a cool build man! best of luck with it!


 Reply With Quote