


Right had balls all to do today so decided to take a stab at hooking up some sleepy eyes, anyone who hant done this yet - doooooooo iiiiiiiiiit
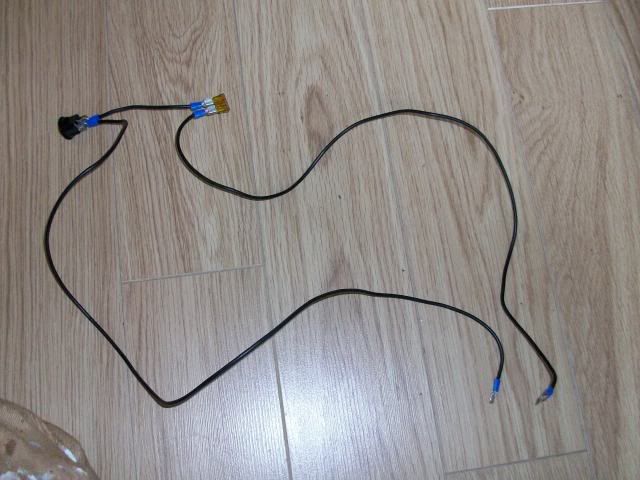
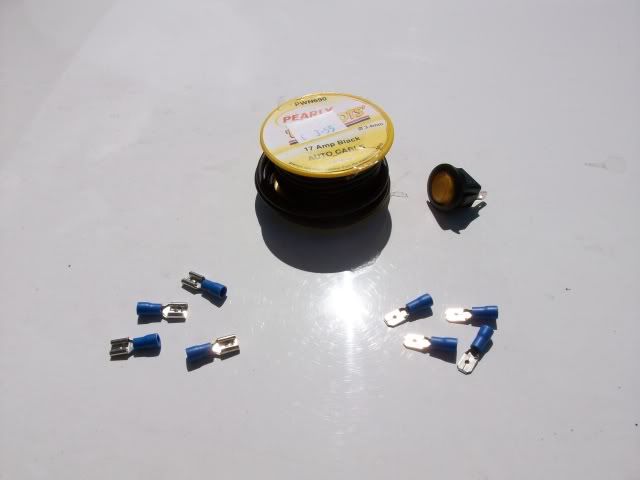
Electrical tape, male and female connectors and a switch
1) Disconnect the battery
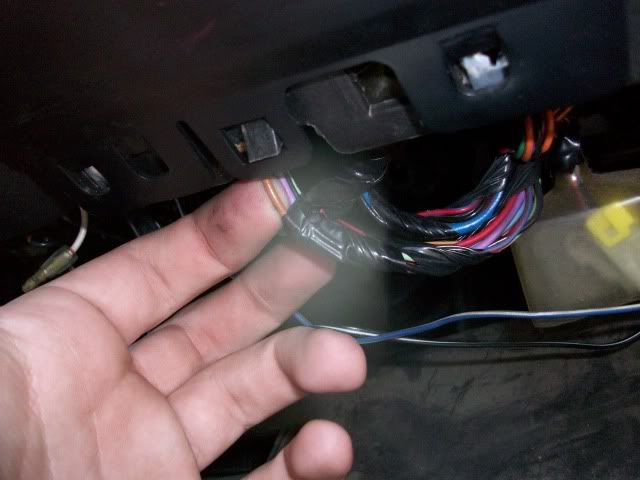
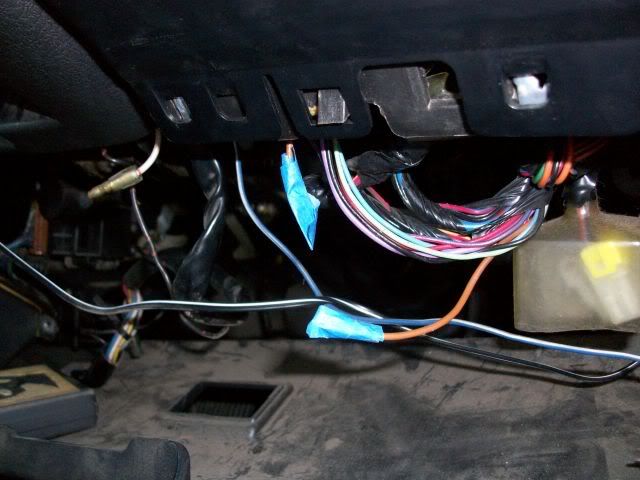
2) Unscrew the panel under the steering wheel to access the wires behind your headlight motor control button
locate the brown wire that connected to the switch and cut it
then tape up the two ends
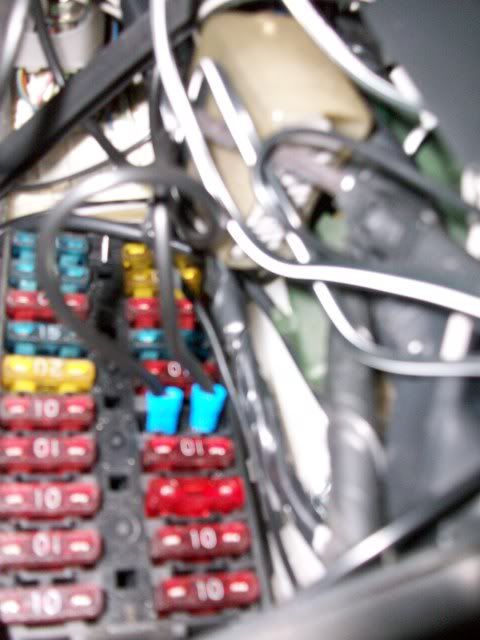
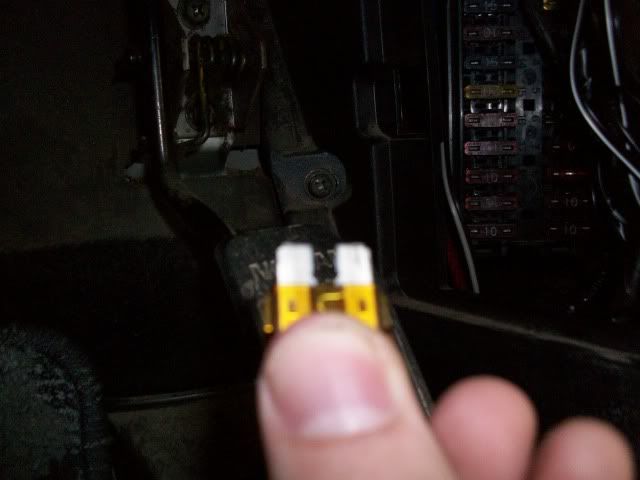
3) Remove the fuse cover in the drivers side footwell and take out the 5amp fuse for your headlight motors (dont worry if everything is in jap its the only 5amp fuse in there)
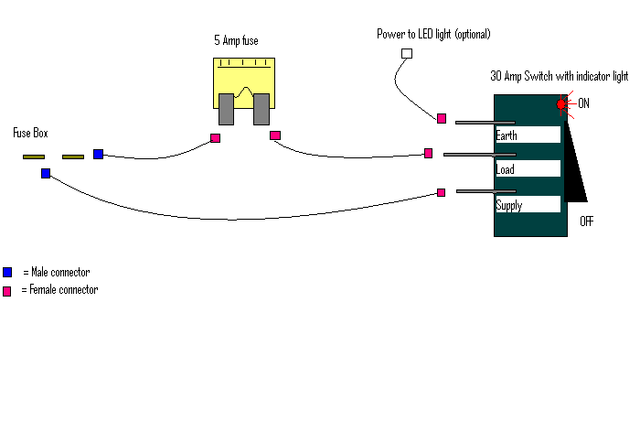
4) Now this is what your going to be wireing up (the fuse in the diagram is the one you removed earlier)
should look like this
Follow Us On


Results 1 to 10 of 10
-
26-05-09, 14:46 #1di Member
- Status
- Offline
- User ID
- 49
- Join Date
- May 2009
- Location
- Wicklow
- Posts
- 1,681
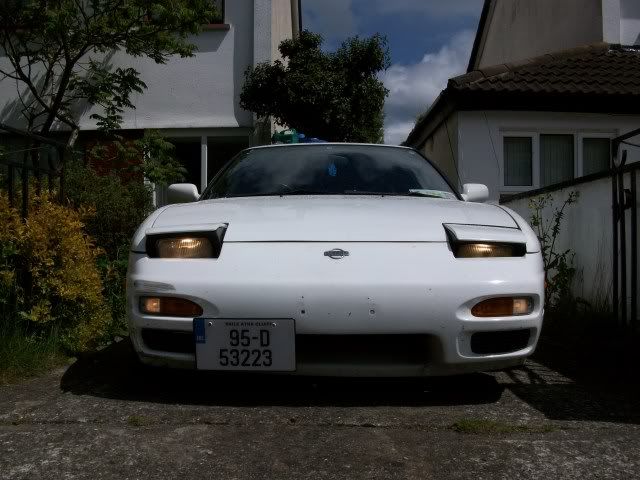
 Fitted sleepy eyes to the 180, step by step guide
-
26-05-09, 14:46 #2di Member
- Status
- Offline
- User ID
- 49
- Join Date
- May 2009
- Location
- Wicklow
- Posts
- 1,681
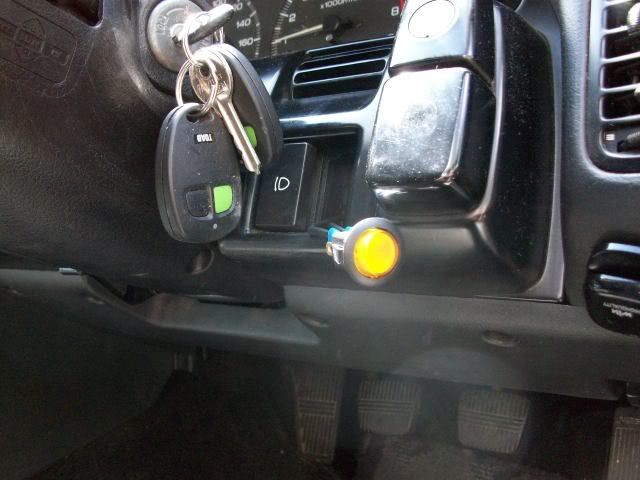
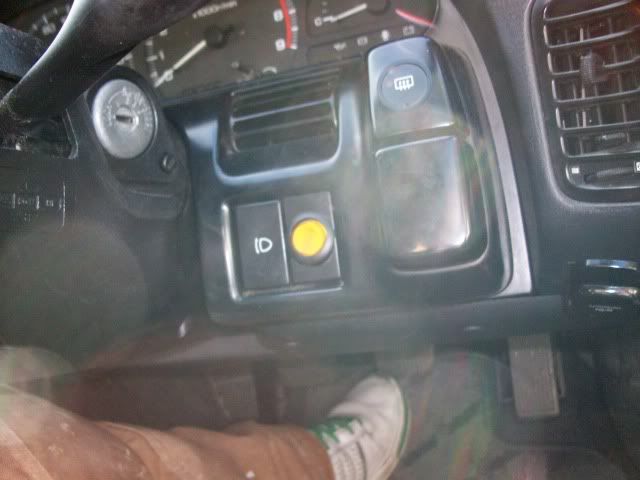
5) Run the switch up through the dash to wherever you want to mount it, i had a blank button beside the headlight motor switch so i popped that out and put the switch through there
6) Plug the two male ends into where you removed the fuse from and replace the fuse cover
7) Connect the battery back up
DONE
now how use it....
Make sure your new switch is in the “on” position.
1) Press the head light motor control button in, Notice nothing happens now, its because you cut the brown wire, good.
2) Turn the lights on with your stem switch on the steering council, the head lights should now open, turn them off, Notice they don’t go down, again the brown wire, good.
3) Using the headlight motor control button, lower the head lights to the desired position by pressing the button in and out, this can be tricky since the lids go down once you depress the button, and they stop once you press it in.
NOTE: if you close them all the way, repeat steps 1 and 2 again.
4) Once you finally get it where you want them, turn your new switch to the off position, and the turn your head light on with the stem switch again.
5) Get out and marvel at your new lit sleepy eye look.
If your driving with your sleepy eyes lit and you notice its getting dark, just turn you switch to the “on” position and the head lights come all the way up and on.
RESULT!
If you have any problems let me know and ill try help ya out
DeLab
-
26-05-09, 15:44 #3Administrator
- Status
- Offline
- User ID
- 11
- Join Date
- May 2009
- Posts
- 7,876
woooo! good write up there roalicious! were gona have some sleepy eye looks on sat woooooooo
-
26-05-09, 16:01 #4di Member
- Status
- Offline
- User ID
- 28
- Join Date
- May 2009
- Posts
- 2,028
looks good dude, i shamelessly stole your write up because a few on MNC were asking about it

 Originally Posted by 200sx

-
26-05-09, 16:42 #5di Member
- Status
- Offline
- User ID
- 38
- Join Date
- May 2009
- Location
- laois
- Posts
- 5,381

why is one the headlights up higher that the other one???

-
26-05-09, 16:51 #6Administrator
- Status
- Offline
- User ID
- 66
- Join Date
- May 2009
- Location
- Meath
- Posts
- 4,996
Cheers Ro!
I kind of followed it, but used 4 different types of wire, blew 2 fuses and used like 1000 connections cos the crimping tool was being gay
Pics when my bluetooth cops itself on!

-
26-05-09, 18:06 #7di Member
- Status
- Offline
- User ID
- 49
- Join Date
- May 2009
- Location
- Wicklow
- Posts
- 1,681
haha good man dar
as for the feckin lights being at different heights its a pain in the hoop... theres an ajustable thing on the top of the pop up motors but no matter what way i turn it it doesn seem to do anything.... although if you turn it really fast the light pops up and then goes down again
-
26-05-09, 18:54 #8di Member
- Status
- Offline
- User ID
- 135
- Join Date
- May 2009
- Posts
- 296
That would be the manual way of getting them up and down for servicing
Have fun trying to get them balanced.. Its a pain in the rock'n'roll
-
26-05-09, 19:08 #9di Member
- Status
- Offline
- User ID
- 49
- Join Date
- May 2009
- Location
- Wicklow
- Posts
- 1,681
yeah figured it was something like that... i think new motors are probably the only way so ill just make do for now
-
26-05-09, 21:35 #10The Monstar!!
- Status
- Offline
- User ID
- 84
- Join Date
- May 2009
- Posts
- 766
go all the way down with both lights, n count the amount of full rotations back up on one side nd den copy it on the other light... new motors wont balance them out, there on a reg, as in a set path so the motors arent connected to where they go, they jus send them up nd down...

 Reply With Quote

 Posting Permissions
All times are GMT. The time now is 11:16.

Powered by vBulletin® Version 4.2.5
Copyright © 2025 vBulletin Solutions Inc. All rights reserved.
Copyright © 2025 vBulletin Solutions Inc. All rights reserved.